


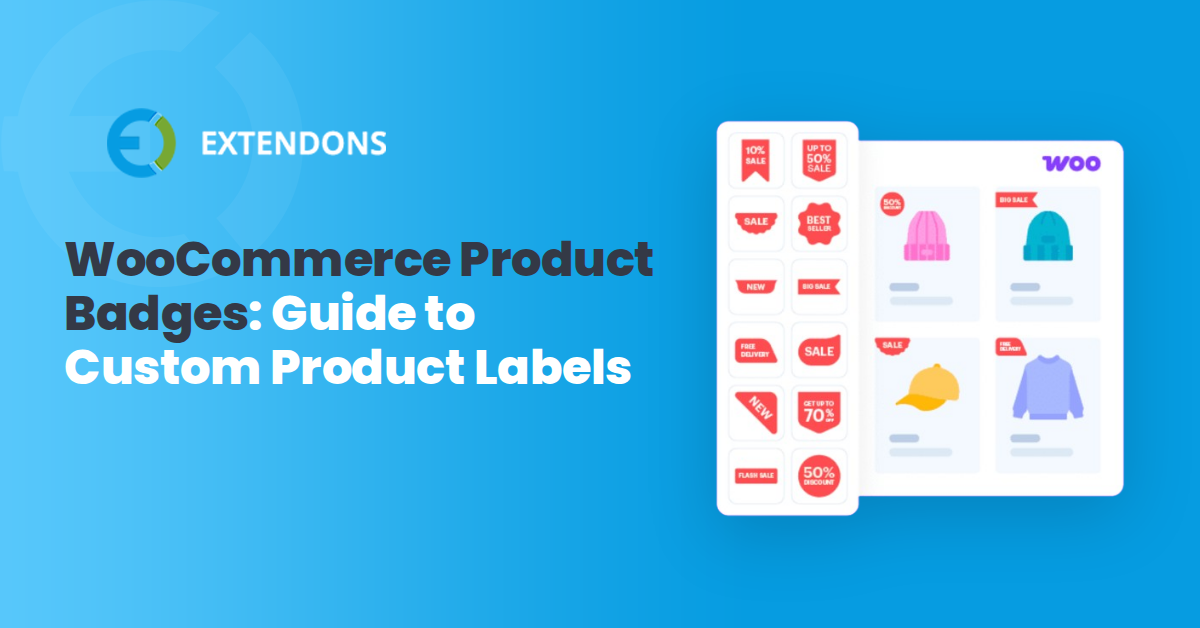
Default WooCommerce sale badges are often too generic to capture a shopper's attention or clearly communicate your promotions. By using custom WooCommerce product badges, you can replace that standard “Sale!” label with specific text, images, or even countdown timers that directly tell customers exactly what makes an item special. This guide shows you both the plugin and manual methods to create effective custom labels for your store.
Why Custom Product Badges Boost Your Store’s Performance
A product badge is one of the first visual cues a customer sees. A generic “Sale!” badge blends in with every other store on the internet. Custom badges for WooCommerce, however, allow you to highlight urgency, exclusivity, or specific product features without forcing the customer to read through descriptions.
Consider a clothing store running a clearance event. A badge that says “Final Markdown” on a jacket tells the shopper this is the lowest price they will see, which matters more than a vague “Sale” tag. Or imagine a tech gadget store: a “Best Seller” badge on a wireless earbud listing signals social proof immediately, without the customer having to scroll through reviews. Custom badges turn passive browsing into informed decision-making by giving shoppers the key information they need at a glance. This is especially useful on category pages where dozens of products compete for attention in a grid layout.
What You’ll Need
- Administrator access to your WordPress site
- WooCommerce installed and active on your site
- Estimated time: 15-30 minutes for the plugin method; 30-45 minutes for the manual method
- Difficulty level: Beginner for the plugin method; Intermediate for the manual code method
- A staging or backup environment (recommended before editing theme files)
Create Badges in Under 2 Minutes
The fastest way to add custom WooCommerce product badges is by installing a dedicated plugin. Product Badges and Labels for WooCommerce replaces the standard sale badge with fully customisable text, images, or countdown badges. You configure rules based on product categories, stock status, or price ranges, and the badges appear automatically on your shop and product pages.
For store owners who need a quick win, the plugin approach eliminates the need to touch a single line of code. You can set up a “Back in Stock” badge in minutes, which is perfect for businesses that rely on restock notifications to drive repeat sales.
How to Create Custom WooCommerce Product Badges?
There are two reliable methods: using a plugin that gives you a visual interface, or adding custom PHP code to your theme. The plugin method is faster and safer for most store owners. The manual method, while more technical, gives you complete control over placement and styling without relying on a third-party library.
Choose based on your comfort level with code and how often you plan to update badges. If you need to change badges weekly for seasonal promotions, the plugin method saves time in the long run.
Method 1: Product Badges and Labels for WooCommerce
Step 1: Install and Activate the Plugin
Navigate to your WordPress dashboard: Plugins → Add New → Upload Plugin.
- Download the Product Badges and Labels plugin from WooCommerce.com
- Upload the .zip file and click Install Now
- Click Activate to enable the plugin
Step 2: Create Your First Custom Badge
Why: Defining a badge’s design and trigger conditions ensures it only appears when and where it makes sense, preventing visual clutter. For example, a “Free Shipping” badge on a $500 item is not helpful, but on a $15 accessory it can remove purchase hesitation.
Navigate to WooCommerce > Settings and click on the Product Badges and Labels tab. Then click on the Badges tab to create a new badge.
- Enter a Badge Name for your own reference, such as “Weekend Flash Sale” or “Low Stock Alert”
- Choose a Badge Type: text, image, or countdown timer. Text badges are best for simple messages like “20% Off”. Image badges let you upload a custom graphic, such as a star icon for “Top Rated”. Countdown timers work well for limited-time events like a 24-hour sale.
- In the Badge Text field, write the message you want shoppers to see, such as “Free Shipping” or “30% Off”
- Configure the Display Rules to target specific products, categories, or stock statuses. For instance, you can set a rule to show a “Low Stock” badge only when the stock quantity is below 5, which automates urgency without manual intervention.
You should now see a preview of your badge. You can also adjust colours, font sizes, and positioning before publishing. For a more professional look, match the badge background colour to your brand’s accent colour and use a font that aligns with your theme.
Step 3: Publish and Test the Badge
- Click Publish or Save Draft to finish creating the badge
- Visit your shop page in an incognito browser window to avoid seeing cached versions
- Locate the product you assigned the badge to and confirm it appears correctly
- Also test on the single product page, as some themes position badges differently there
You should now see your custom badge displayed on the product image. If it does not appear, double-check the display rules to ensure the conditions are met. For example, if you set the rule to “Category = Electronics” but the product is in “Accessories”, the badge will not show. Also verify that the badge position does not conflict with your theme’s layout, especially on mobile views.
Method 2: Manual Code Implementation (No Plugin)
For developers or store owners who prefer to avoid additional plugins, you can add custom badges directly to your theme’s functions.php file. This method works well if you only need a few static badges and do not plan to update them often.
Step 1: Create a Child Theme
Why: Editing your parent theme’s files directly risks losing changes during theme updates. A child theme keeps your custom code safe and separate.
- Install a child theme plugin like Child Theme Configurator, or manually create a child theme folder with a style.css file that imports the parent styles
- Activate the child theme from your WordPress dashboard
Step 2: Add the Badge Function
Open your child theme’s functions.php file. Add the following code to display a custom badge on products with a specific category:
add_action( 'woocommerce_before_shop_loop_item_title', 'custom_product_badge', 10 );
function custom_product_badge() {
    global $product;
    if ( has_term( 'sale-items', 'product_cat', $product->get_id() ) ) {
        echo '<span class="custom-badge sale-badge">Flash Sale!</span>';
    }
}
This code checks if a product belongs to the “sale-items” category and outputs a badge before the product title on shop pages. You can replace “sale-items” with your own category slug and customise the text and class names.
Step 3: Style the Badge with CSS
Add CSS to your child theme’s style.css file to position and style the badge:
.custom-badge {
    position: absolute;
    top: 10px;
    left: 10px;
    background: #e63946;
    color: #fff;
    padding: 5px 10px;
    font-size: 14px;
    font-weight: bold;
    border-radius: 3px;
    z-index: 10;
}
.sale-badge {
    background: #f4a261;
}
Adjust the top and left values to position the badge correctly on your product images. Test on both desktop and mobile to ensure it does not cover important product details like pricing.
Step 4: Test the Badge
Visit a product page from the category you targeted. The badge should appear in the specified position. If not, check that the category slug matches exactly and that your theme supports the action hook. Some themes use custom templates that may require a different hook, such as woocommerce_before_shop_loop_item.
Other Plugins That Can Also Do This
Several other plugins offer custom badge functionality. Each one approaches the problem slightly differently, so choose the one that fits your workflow.
Plugin Name |
Description |
Key Differentiator |
Price |
|---|---|---|---|
Custom Product Badges for WooCommerce |
Create eye-catching product badges and labels for your WooCommerce store in seconds. 100+ built-in product badges. Fully customizable. |
Large library of pre-designed badges you can use immediately. |
$49 |
WooCommerce Product Badges |
Replace the default WooCommerce sale badge with fully custom text, image, and countdown badges that grab attention and drive conversions. |
Includes countdown timer badges for time-sensitive promotions. |
$39 |
Advanced Product Labels for WooCommerce |
Flexible conditional rules for badges based on stock, price, custom fields, and more. Supports multiple label styles per product. |
Deep integration with custom fields and user roles. |
$49 |
Troubleshooting Custom Product Badges
Even with a plugin, badges sometimes do not appear as intended. Here are the most common issues and how to fix them.
Badge Is Not Appearing on the Shop Page
This usually happens because the display rules are too restrictive. Go to the badge edit screen and check the product category or tag conditions. Try setting the rule to “All Products” temporarily to see if the badge appears everywhere.
If it does, narrow down the targeting from there. Another common cause is that the badge’s priority setting overrides other rules. Check if you have multiple badges set for the same product and adjust the priority order in the plugin settings.
Badge Overlaps with Product Image or Text
Your theme’s CSS may conflict with the badge positioning. Most badge plugins include position settings. Switch the badge position from “Top Left” to “Top Right” or adjust the offset values in the plugin’s style settings.
If the problem persists, check for a theme-specific CSS override. Use your browser’s developer tools (F12) to inspect the badge element and see which CSS rules are applying. However, these issues will not come when you use the plugin.
Countdown Badge Shows the Wrong Time
Countdown timers rely on your server’s time zone setting. Go to Settings → General in your WordPress dashboard and confirm the time zone matches your target audience’s time zone. Also verify that the end date and time in the badge settings are set correctly.
If the countdown does not update in real time, your caching plugin may be serving a static version of the page. Exclude pages with countdown badges from caching, or use a plugin that supports dynamic JavaScript timers.
Badge Appears on Some Products but Not Others
This typically occurs when you have applied multiple badge rules that conflict. Review all active badges and note which products each one targets. If two badges try to display on the same product, the plugin may default to showing only one.
Disable the less important badge to resolve the conflict. Alternatively, some plugins let you set a “stack” or “group” option to show multiple badges on the same product, but this can create visual clutter. Prioritise the most important message for each product.
Best Practices for WooCommerce Product Badges
Using badges effectively requires more than just technical setup. Follow these recommendations to get the best results.
- Limit the number of badges per product. Showing three or more badges on a single product image creates visual noise and reduces their impact. Stick to one, or at most two, badges per item. For example, a “Best Seller” badge combined with a “Low Stock” badge works well, but adding a third badge like “Free Shipping” can overwhelm the shopper.
- Match badge style to your brand. Use your brand’s colour palette and fonts so badges feel like a natural part of the store design, not a distracting add-on. A clean, minimalist store should use simple, bordered badges, while a playful brand can use bold colours and rounded shapes.
- Use urgency badges sparingly. Reserve “Low Stock” or “Limited Time” badges for products where they are genuinely true. Overusing urgency labels erodes customer trust. If every product has a “Low Stock” badge, shoppers stop believing it and the tactic loses effectiveness.
- Test badges on mobile devices. A badge that looks great on desktop may cover crucial product details on a smaller screen. Always preview on at least one mobile device before publishing. Use the responsive mode in Chrome DevTools to simulate different screen sizes and adjust the badge size or position accordingly.
- A/B test badge designs. Run a simple split test with tools like Google Optimise to compare a “Sale!” badge against a “20% Off” badge. Measure click-through rates and conversions to see which message resonates more with your audience. This data-driven approach removes guesswork from your badge strategy.
Conclusion
You now have two distinct paths to replace that generic “Sale!” label with custom WooCommerce product badges that actually inform and persuade your customers. The plugin method, using Product Badges and Labels gives you a visual interface with text, image, and countdown timer options, plus conditional rules that automate badge placement across your entire catalogue. The manual code method, while more technical, offers total control for developers who need a lightweight, plugin-free solution.
The real value comes from matching your badge strategy to your store’s specific goals. A “Free Shipping” badge on a high-margin item can reduce cart abandonment. A “Low Stock” badge on your bestselling products can accelerate purchase decisions during flash sales. When implemented thoughtfully, badges communicate the information shoppers need most, directly on the product image, without requiring them to read a single line of product description.
To start transforming your product pages today, install Product Badges and Labels and create your first custom badge in under five minutes.
 30-day money back guarantee
 Dedicated Support Team
 Safe & Secure Free Update
 Safe Customized Solutions