- $USD
- English (United States)
- Hire an Expert
- Get Support
- Blog
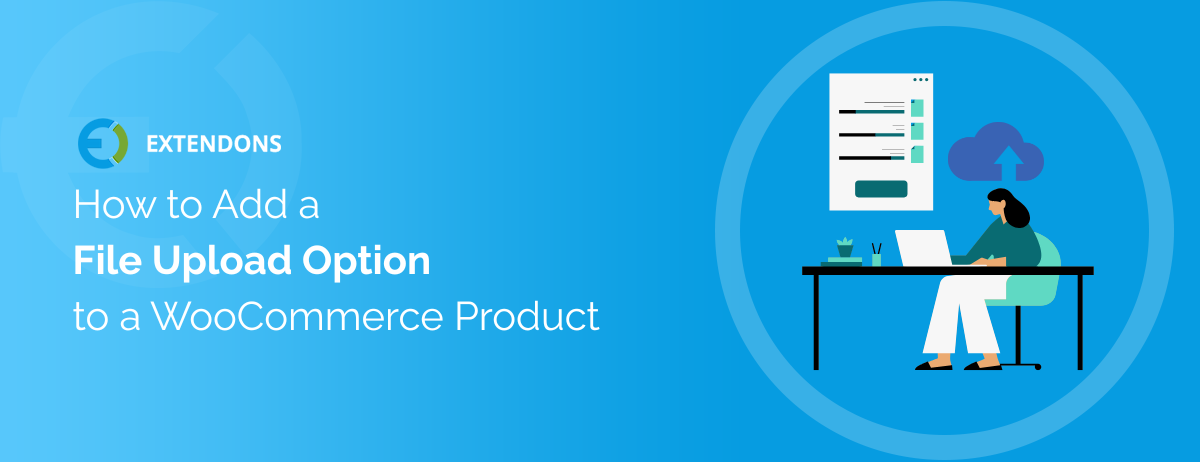
- How to Add a File Upload Option to a WooCommerce Product
How to Add a File Upload Option to a WooCommerce Product
Selling custom products with WooCommerce? And you're stuck trying to let customers upload files before they check out? You won’t get that working with the default WooCommerce setup. It just doesn't come with that option.
But here’s the good news — with the file upload WooCommerce plugin by Extendons, you can fix that real quick. This plugin lets you add an upload field right on the product page so your buyers can send files before even adding items to the cart.
We’ll walk you through how to get the WooCommerce upload file feature working on your site. It’s not hard. Just a few quick steps and you’ll be up and running — no code, no fuss.
How the file uploads work in your WooCommerce store
When someone’s shopping in your store like normal, they’ll see your products just like always. But instead of the usual “add to cart” button, they’re gonna get a “View Product” one if the product needs a file upload. That’s 'cause you set it up so they gotta send in a file before they can buy. Could be one file or more, depending how you’ve set things, it will look like this:

Once they hit that button, it takes them straight to the product page. That’s where they’ll see the file upload section: 
With the WooCommerce upload files plugin, your customers can add their files right from the cart page. No more chasing them through emails or trying to figure out vague order notes. Everything’s sent along with the product, just how you need it:

And that is pretty much it with the basics. So let’s get into more details on how to use this plugin to add the file upload option to your products.
Adding a File Upload Option to a Product Page in WooCommerce
Here is a quick rundown on adding a file upload field to a WooCommerce product page:
Step 1: Download the Plugin
- First, the file upload WooCommerce ZIP file.
- Save it somewhere you can find easily on your device.
Step 2: Install the Plugin
- Go to your WordPress dashboard
- Head to Plugins > Add New
- Click Upload Plugin, select the ZIP file you downloaded, and upload it
- Hit Install Now, and once it’s done, activate it
Step 3: Access Plugin Settings
- From the WordPress sidebar, go to WooCommerce > Settings > File Uploader
- You’ll see three main tabs here:
- Add Rule
- Manage Rule
- Recaptcha Settings

Step 4: Add a New Upload Rule
- Go to the Add Rule tab
- Fill in the following options:
- Enable/Disable to turn the rule on or off
- Rule Name to keep things organized
- Display on to choose where the upload button should appear (like product, category, cart, or checkout)
- In Main Upload Rules, click Add More to:
- Set the file button label and button text
- Choose allowed file types
- Add extra charges or apply discounts
- Write a short note or description
- Set limits for upload size or number of files
- Add custom note fields and button color options

Step 5: Restrict by Product or User Role
- Use Product/Category Restriction to show the upload button on specific products or categories
- Use User Role to make the button show up only for certain customer types
Step 6: Manage and Edit Rules
- Head over to the Manage Rule tab
- You’ll find all the rules you’ve created listed there
- You can edit or remove any of them whenever you want

Additional: Set Up reCAPTCHA (Optional)
- If you want to keep spam away, go to the Recaptcha Settings tab
- Turn it on or off
- Enter your Site Key and Secret Key if you’re using Google reCAPTCHA

You can also check out a more brief installation guide on the WooCommerce Upload File documentation.
Wrapping Up: Simplifying File Uploads on WooCommerce Product Pages
That’s it. Now your WooCommerce store’s ready to let customers upload files right from the product page. There are quite a few Benefits of Using File Upload Plugins and it makes setting up a custom file upload very simple, whether it’s a logo for printing or docs for approval. No need to mess with code or long settings. Just install, pick where the upload shows up, and you're good.
You’re now set up to sell custom stuff like business cards, posters, or anything that needs a file attached before checkout.
FAQs
- Can customers upload files during WooCommerce checkout easily?
Yes, you can enable the upload field on the checkout page using the Display On option. This helps collect all necessary files before order placement. - How do I upload to one file field only?
While setting up the file upload rule, set the maximum upload file count to one. This limits - Why can't I upload a file on my WooCommerce store?
If upload fails, check if file type, size, or quantity exceeds the limits defined in plugin settings. Also make sure the rule is active and assigned to the product or page. - How can I upload my PDF on the WooCommerce checkout page?
Using the plugin settings, you can allow PDF and other file types to be uploaded during checkout. Just select the file types under allowed extensions when setting up the rule. - How can I upload my file to a WooCommerce product page?
With the Extendons plugin, customers can upload files directly from the product page before adding items to the cart. Admins can customize the upload fields per product or
category. - 6. What are product attachments in WooCommerce and how does this plugin help?
Product attachments are files uploaded by customers related to a product (like designs or logos). This plugin lets you manage those uploads directly from the order admin screen.
Share Article
-
 30-day money back guarantee
-
 Dedicated Support Team
-
 Safe & Secure Free Update
-
 Safe Customized Solutions