


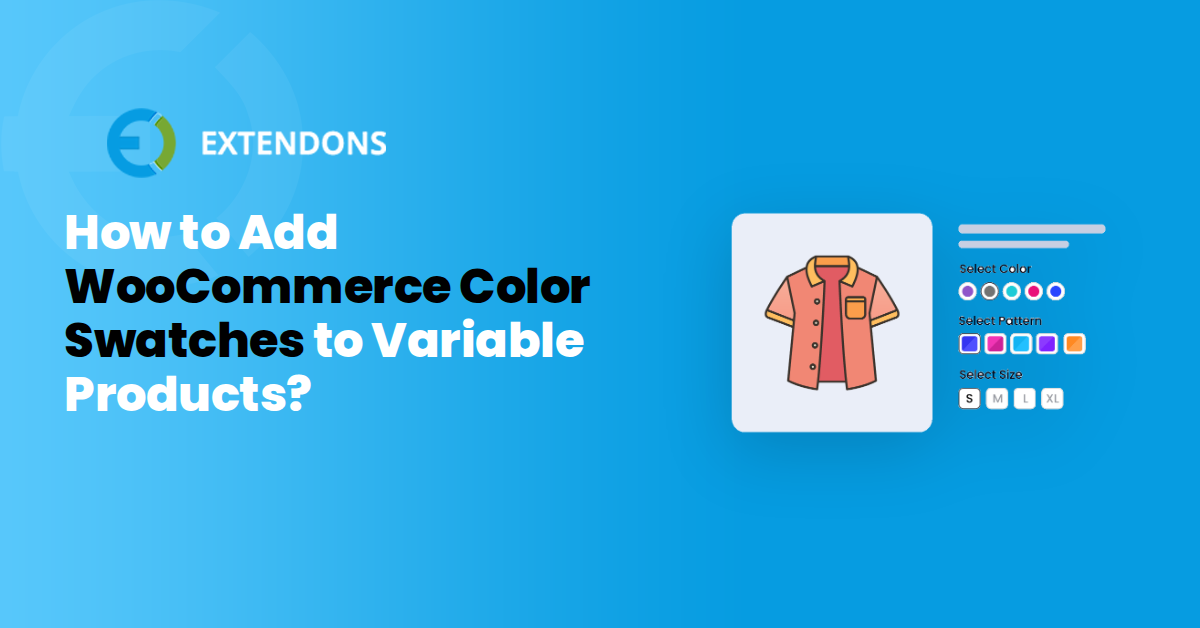
Default dropdowns force customers to work harder than they should, and every extra click is a conversion risk. Swatches display every option instantly, letting shoppers see, compare, and select a color in one glance. This guide shows you how to replace those dropdowns with color swatches on your WooCommerce store, using either a plugin or a code-based approach.
Why default dropdowns hurt your conversion rate
To add color swatches to your WooCommerce variable products, you can either use a dedicated plugin like WooCommerce variation swatches to add custom CSS and jQuery code to your theme's functions.php file. Both methods allow you to display color circles or image swatches instead of plain dropdowns, improving visual clarity and supporting better conversion outcomes.
The default WooCommerce variable product page presents color options as a dropdown menu. Customers must click, scroll, and mentally translate "Crimson Red" into a visual. That friction adds up, especially on mobile, where mobile conversion rates average between 1% and 3%, while desktop conversions range from 3% to 5%. The gap is partly a UX problem: dropdowns are harder to use on touchscreens, and every extra tap is a chance to lose the shopper.
Swatches solve this by showing the choice upfront. A row of color circles or fabric swatches lets customers see all options at a glance, compare them instantly, and click once. Swatches are one of the simplest interactive upgrades you can make. A clothing store with image swatches showing actual fabric texture looks more professional than one with a plain dropdown. The same product, same price, same photos, but the swatch version feels more polished.
Method 1: Using a plugin (the easy way)
The fastest way to add WooCommerce color swatches is with a dedicated plugin. It removes the guesswork of custom code and gives you a visual interface for styling every swatch. For most store owners, this is the right first move.
One of the most flexible options is Variation Swatches for WooCommerce. It replaces the default dropdown fields with radio buttons and swatches that use colors, images, or text labels. You can map each product attribute to a swatch type, display dual color swatches, and even show all attributes on the shop page so buyers never have to guess what options exist.
Here is how to install and configure WooCommerce variation swatches plugin
Step 1: Install and activate the plugin
Download the plugin .zip file from your WooCommerce account, then go to WordPress Admin → Plugins → Upload Plugin.
Choose the .zip file, click Install Now, and then click Activate.
You should now see a Variations Swatches tab under WooCommerce → Settings.
Step 2: Configure the general settings
Navigate to WooCommerce → Settings → Variations Swatches, and open the General Settings tab. From here you can set:
- When Variation is Out of Stock: Choose whether out-of-stock variations appear with a Cross, Blur, or Hide effect.
- Change Product Image on Shop Page: Decide if the product image updates on click or hover when a swatch is selected.
- Show Variation Swatches for: Display swatches for All Variable products or only specific products.
- Generate Variation URL: Enable this checkbox to create shareable URL links for each variation and attribute.
- Display Swatches on Shop Page: Turn this on to show swatches directly on the shop page, not just the product page.
Step 3: Adjust shape, tooltip, and border settings
Open the Shape Settings tab to set swatch style (Round or Square), width and height in px, and label font size. Then use the Tooltip Settings tab to enable tooltips and choose between Text or Image content. Finally, the Border Settings tab lets you enable borders for images and labels and pick a border color.
Step 4: Map attributes to swatch types
Go to the Map Attributes to Swatch Type tab. Every attribute you have created will be listed here. Assign each one to its swatch type, and customize the shape and size if needed. Note that this only affects the product page.
Step 5: Customize swatches per product
Edit an existing product, scroll down to Product Data, and click the Attribute Swatches tab. Enable the product-level swatches checkbox, then choose which attribute appears on Shop or Category pages. You can also select All Attributes to display multiple attributes per product. Below that, apply custom settings for shape style, width, height, and label font size. To revert to the global defaults, check the Reset box and update the product.
Method 2: CSS-only swatches (no plugin)
If you want full control over the markup and zero extra dependencies, you can build color swatches with custom CSS and a few product attribute classes. This approach works best for developers who already manage a child theme and prefer to keep their plugin list lean.
Before you start, note that CSS-only swatches won't handle complex variation logic like stock status or image swapping. Those require JavaScript or a dedicated plugin. For simple color choices where the product image doesn't change per variation, CSS is a solid, lightweight option.
Warning: Always back up your site and test on a staging environment before adding custom code to your theme.Step 1: Add a custom class to your product attributes
Navigate to Products → Attributes in your WooCommerce admin. Edit the attribute you use for colors (for example, "Color") and note the slug. WooCommerce generates a class from that slug on the product page, which your CSS will target.
For a attribute named Colorthe class becomes .pa_color. If your attribute slug is shadetarget .pa_shade instead.
Step 2: Add the CSS to your child theme
Open your child theme's style.css file or the Additional CSS section in the WordPress Customizer. Add the following rules to convert the dropdown into a set of clickable swatches:
/* Hide the default select dropdown */
select[name^="attribute_"] {
  display: none;
}

/* Style the swatch container */
.attribute-color {
  display: flex;
  gap: 8px;
}

/* Create the swatch circle */
.attribute-color .swatch {
  width: 32px;
  height: 32px;
  border-radius: 50%;
  border: 2px solid #ddd;
  cursor: pointer;
}

/* Add a border when selected */
.attribute-color .swatch.selected {
  border-color: #333;
}
The key part is hiding the native select dropdown. Without that, visitors will see both the dropdown and your custom swatches, which defeats the purpose.
Step 3: Add the swatch markup to your product templates
This step requires editing your theme's template files. In your child theme, create a copy of woocommerce/single-product/add-to-cart/variation.php from the WooCommerce plugin directory. Inside the copied file, replace the existing dropdown markup with your custom swatch buttons:
<div class="attribute-color">
  <span class="swatch" data-value="Red" style="background:#e63946;"></span>
  <span class="swatch" data-value="Blue" style="background:#457b9d;"></span>
  <span class="swatch" data-value="Black" style="background:#1d3557;"></span>
</div>
You must also add a small JavaScript snippet to sync the selected swatch with the hidden variation field. Without it, the product won't add to cart correctly because WooCommerce won't register the selected attribute.
This method works fine for a handful of products. Once your catalog grows or you need to handle out-of-stock variations, image changes, or shop page previews, the maintenance cost climbs quickly. That's when a purpose-built plugin becomes more practical.
For most store owners, a plugin is the safer route. If you manage more than a few variable products or need stock visibility, Variation swatches for WooCommerce is the best solution for your store.
Image Swatches vs Color Swatches - What to use when?
Color circles work well for solid, single-tone finishes. Image thumbnails are the better choice when a product's appearance depends on patterns, gradients, or material texture. Choosing the wrong swatch type can create confusion at the exact moment a customer decides whether to buy.
Use color swatches when the variation is a flat, identifiable shade. A cotton t-shirt in "Navy" or a ceramic mug in "Sage" reads clearly as a simple color. Customers can scan them quickly, and they render fast on both mobile and desktop.
Switch to image swatches when a single color name cannot capture the visual difference. Common examples include:
- Patterned fabrics like plaid, stripes, or floral prints
- Materials with visible texture, such as linen, denim, or leather
- Gradient finishes where color shifts across the surface
- Products with multi-tone designs, like marbled phone cases
A plain color circle cannot show a herringbone weave or a brushed-metal effect. Image thumbnails solve this by displaying the actual material swatch, so customers see exactly what they are selecting.
One practical approach is to use both types across your catalog. Assign color swatches to simple solid attributes and image swatches to anything with pattern or texture. WooCommerce swatches plugin lets you map each attribute to its own swatch type, so you can mix color circles and image thumbnails without forcing one style onto every product.
For out-of-stock variations, keep the swatch visible but mark it clearly. The plugin can hide, blur, or cross out unavailable options, which prevents the frustration of clicking a variation that cannot be selected. Blurring works especially well for image swatches because it preserves the visual context while signaling unavailability.
Why Color Swatches Boost Conversion Rates
Color swatches remove the mental effort between seeing an option and understanding it. Shoppers on mobile devices especially benefit, since tapping a small dropdown on a touchscreen is awkward and error-prone.
The ecommerce conversion rate benchmarks from Smart Insights show that product page views represent the largest micro-conversion, approaching 50 percent of sessions. When visitors reach your product page, you want them to understand every variation instantly.
Small UX improvements that reduce friction can meaningfully shift that number. Fast, visual variation selection keeps shoppers engaged and prevents them from bouncing to a competitor's store.
Other Plugins That Can Also Do This
Several other plugins offer variation swatch functionality. Each has a slightly different focus, so consider your specific needs before choosing.
- Variation Swatches for WooCommerce by CartFlows: A popular commercial option that offers color, image, and label swatches with a drag-and-drop builder. Differentiator: tight integration with CartFlows' funnel ecosystem. See vendor for pricing.
- WooCommerce Product Swatches by WooCommerce: Adds basic swatch support for colors and images. Differentiator: backed by the WooCommerce team and receives regular core-compatibility updates. See vendor for pricing.
- Variation Swatches and Gallery by WP Swatches: A lightweight plugin focused on swatch display and variation image gallery integration. Differentiator: special emphasis on gallery interactions. See vendor for pricing.
Conclusion
Replacing WooCommerce dropdowns with color or image swatches makes product variations easier to understand and quicker to select. Whether you choose a dedicated plugin for advanced features or build your own swatches with custom code, the goal is the same: reduce friction and help customers make faster buying decisions. For most stores, a variation swatches plugin offers the easiest way to create a more visual shopping experience while improving usability across both desktop and mobile devices.
 30-day money back guarantee
 Dedicated Support Team
 Safe & Secure Free Update
 Safe Customized Solutions