- $USD
- English (United States)
- Hire an Expert
- Get Support
- Blog
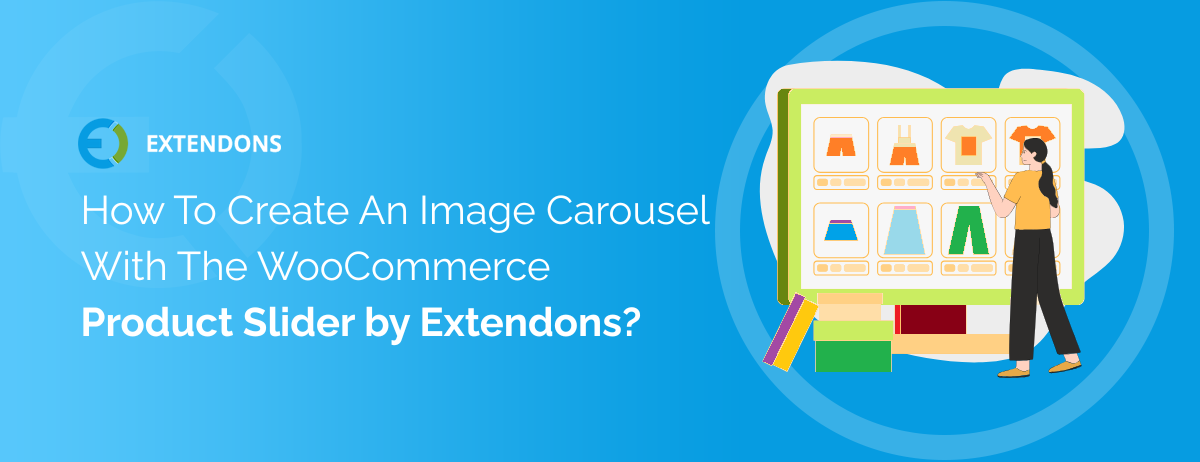
- How To Create An Image Carousel With The WooCommerce Product Slider by Extendons?
How To Create An Image Carousel With The WooCommerce Product Slider by Extendons?
Quick Overview
This is a step by step guide for those who are running a WooCommerce store and want to make their product displays more captivating. For that, a product slider is something you really need. Instead of static product listings, you can add interactive sliders and carousels to highlight your featured items, best-sellers, or sale products. It helps your visitors see more in less space and makes shopping smoother.
In this blog, we’ll give you a basic understanding of how to add a WooCommerce product carousel slider to your online store. We’ll walk you through the installation steps, show you how to configure settings like autoplay, speed, order, and categories, and help you design a carousel WooCommerce shoppers can actually use. No need for heavy custom coding or third-party builders.
If you want a quicker look or need a shorter overview, you should definitely check out the official WooCommerce product slider documentation. It covers all the basics and gives you a clear guide on every feature.
You can find it here: WooCommerce product slider documentation.
Step 1: Add Your WooCommerce Products First
Before you can show anything in a WooCommerce product slider, you gotta have products in your store. That’s step one. If your store’s brand new or doesn’t have any products yet, go to your WooCommerce dashboard and start adding them one by one. Add clear product titles, upload your images, write short descriptions, and don’t forget pricing and stock status.
No images means nothing to slide. The WooCommerce product carousel works by pulling those product entries from your store and placing them into a scrollable display. So make sure your products are ready. You can also assign categories right now if you plan on displaying items from specific groups later inside the slider.
Already got your products in? Then you’re ahead of the game. You can move on to building your actual WooCommerce layout with the plugin. But if not, don’t skip this step. Because the slider doesn’t work without content. Add whatever you want to feature — new arrivals, sale items, trending picks, whatever fits your store's goals.
Step 2: Install the WooCommerce Product Slider Plugin
Now that your products are added, next step is to get the WooCommerce product carousel plugin installed on your store. This is what’s gonna let you build that slider and show products anywhere you want.
Start by downloading the plugin ZIP file from your WooCommerce dashboard or the place you bought it. Once that’s done, head to your WordPress admin panel. Go to Plugins > Add New > Upload Plugin. Find the ZIP file on your computer, upload it, and hit Install Now. Once it’s installed, just click Activate.
Now the plugin’s live. You’ll see a new option under WooCommerce called Product Slider. That’s where all the setup happens. From here, you can start creating different sliders to display on any page of your site.
You don’t need to mess with coding or anything. The plugin works with shortcodes. So once a slider is made, you just copy the shortcode and paste it wherever you want—like the homepage, a product page, or a category page.
Quick checklist:
- Download plugin ZIP
- Upload through WordPress admin
- Activate it
- Look for "Product Slider" under WooCommerce
Step 3: Set Up Your First WooCommerce Product Carousel Slider
This step is a fairly short process so follow through as you go along!
So once the plugin's installed and active, now it's time to actually create your WooCommerce product slider. Go to your WordPress dashboard, then head into WooCommerce > Product Slider. This is where all your sliders will be made and managed.
To start, click “Add New Slider.” First thing it’ll ask you is the Slider Title. Give it a name that helps you remember what it’s for—like “Homepage Deals” or “New Arrivals Slider.”
Step 4: Adjust the Slider and Query Settings Based on Your Needs
Now that your WooCommerce product slider is created, you’ll want to tweak how it looks and works. This part is important. It’s where you get to control the flow and the content of the slider to fit your store.
Start with the Slider Settings. These options decide how your slider behaves:
- Auto Play: You can let the slider move on its own or keep it manual.
- Slide Speed: Set how quick each product slides. This is in milliseconds.
- Autoplay Interval: This is the pause time between each slide when autoplay is on.
- Loop or Rewind: Pick whether the slider should keep going in a loop or rewind once it reaches the end.
- Mouse Drag / Touch Drag: Let users move the slider by dragging with a mouse or finger.
- Pause Autoplay on Hover: Stops the slider when someone hovers over it. Useful when people want to take a better look.

Next are the Query Settings. These control which products show up in your WooCommerce product carousel:
- Number of Products: Decide how many items to show. Use -1 to include them all.
- Query Order: Choose if they display in ascending or descending order.
- Order By: Sort products by ID, price, name, or sales.
- Slider Content: Pick products or categories you want shown.
- Select Category: You can include whole categories if you want.
- Hide Out-of-Stock Products: Keep sold-out items out of the slider.
- Display Sale Products: You can show items on sale too if you want to highlight deals.

These settings help make sure your WooCommerce product carousel slider is showing what you need, how you want it.
Step 5: Adjust Colors and Add the Shortcode
Now you can make the WooCommerce product carousel match your store’s style. Inside the slider settings, there’s a section for button colors.
- Pick a background color for the “Add to Cart” button. Use something that fits your store theme.
- Then select the text color for that button. Make sure that the color you choose is readable in contrast to the background.

After finishing the set up, you will have to place the slider on your site.
After saving your slider, go back to WooCommerce > Product Slider. You’ll see a shortcode next to each slider you made. Just copy that shortcode.
Paste it anywhere. It can go on a homepage, product page, or even a custom landing page. Just use a shortcode block or paste it in the editor.
Your carousel WooCommerce slider will show up right where you placed it.

And You Are Good to Go!
Now your store has a working WooCommerce product slider showing your products in a neat, scrollable carousel. It makes browsing easier for customers and puts your items right where they can see them. Setting up a slider like this doesn’t have to be complicated. With the right steps, you get a smooth way to show off your products and keep people interested longer. Using the product slider well can really make a difference for your online store’s layout and sales. So take the time to explore it, try different settings, and make the carousel fit your style and needs. Your customers will notice the difference and your store will look more professional and easy to navigate.
You can buy a WooCommerce product carousel plugin from the Extendons site.
FAQ’s
1. How to create a WooCommerce product slider?
To create a slider, first install and activate the WooCommerce Product Slider and Carousel plugin by Extendons. Then go to WooCommerce > Product Slider, add a new slider, set your preferences, and copy the shortcode to any page where you want the slider to show.
2. What is the best product slider for WooCommerce?
The WooCommerce Product Slider and Carousel by Extendons is a strong choice. It lets you show products by category, sort them, set auto-play, and fully control design and behavior using shortcodes. You can also check out some other slider and carousel plugins in our blog.
3. How do I create a custom slider in WordPress?
Once the plugin is active, go to the slider settings in your WooCommerce dashboard. Add a new slider, choose products or categories, set display rules, and get a custom shortcode to place the slider wherever you need.
4. How do I control the number of products in each slider?
While creating a slider, use the Query Settings. You can set the number of products to show, their order (ascending or descending), and whether to include sale items or hide out-of-stock ones.
5. Can I create multiple sliders for different pages?
Yes. You can make as many sliders as you need. Each one gets its own shortcode. Place them on any page or section depending on where you want to display products.
Share Article
 30-day money back guarantee
 Dedicated Support Team
 Safe & Secure Free Update
 Safe Customized Solutions